Looking for an easier way to manage your documents? In the Dokobit by Signicat portal, you can create and assign document categories to your uploaded files. This feature not only lets you auto-assign participants with pre-defined roles but also makes it simpler to organize and locate your documents later.
How to create document categories
1.0. Log in to your Dokobit by Signicat account.
1.1. Open the Settings by pressing the gear icon next to your name and email address.
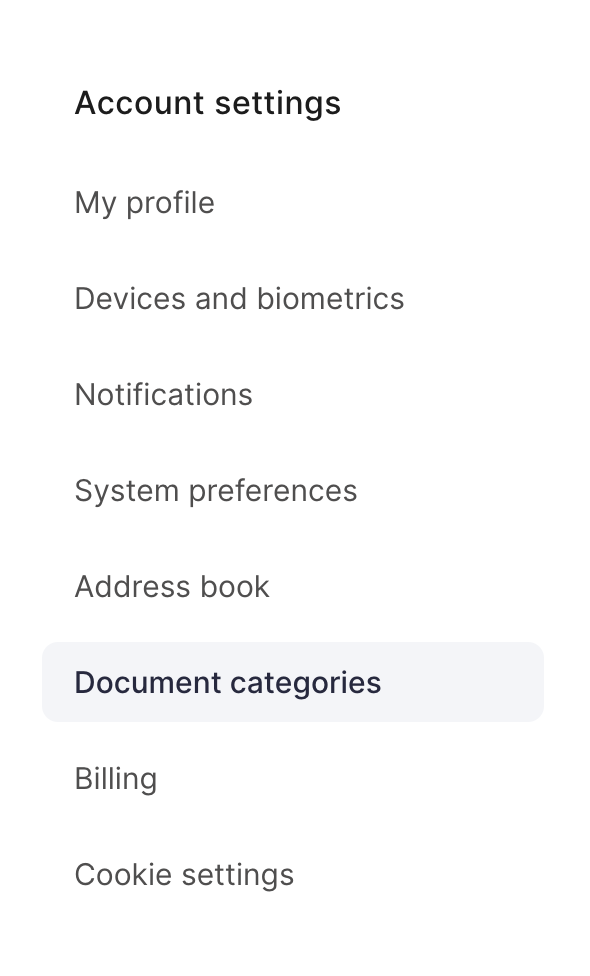
1.2. From the menu on the left, select Document categories.
1.3. Press Create new category.

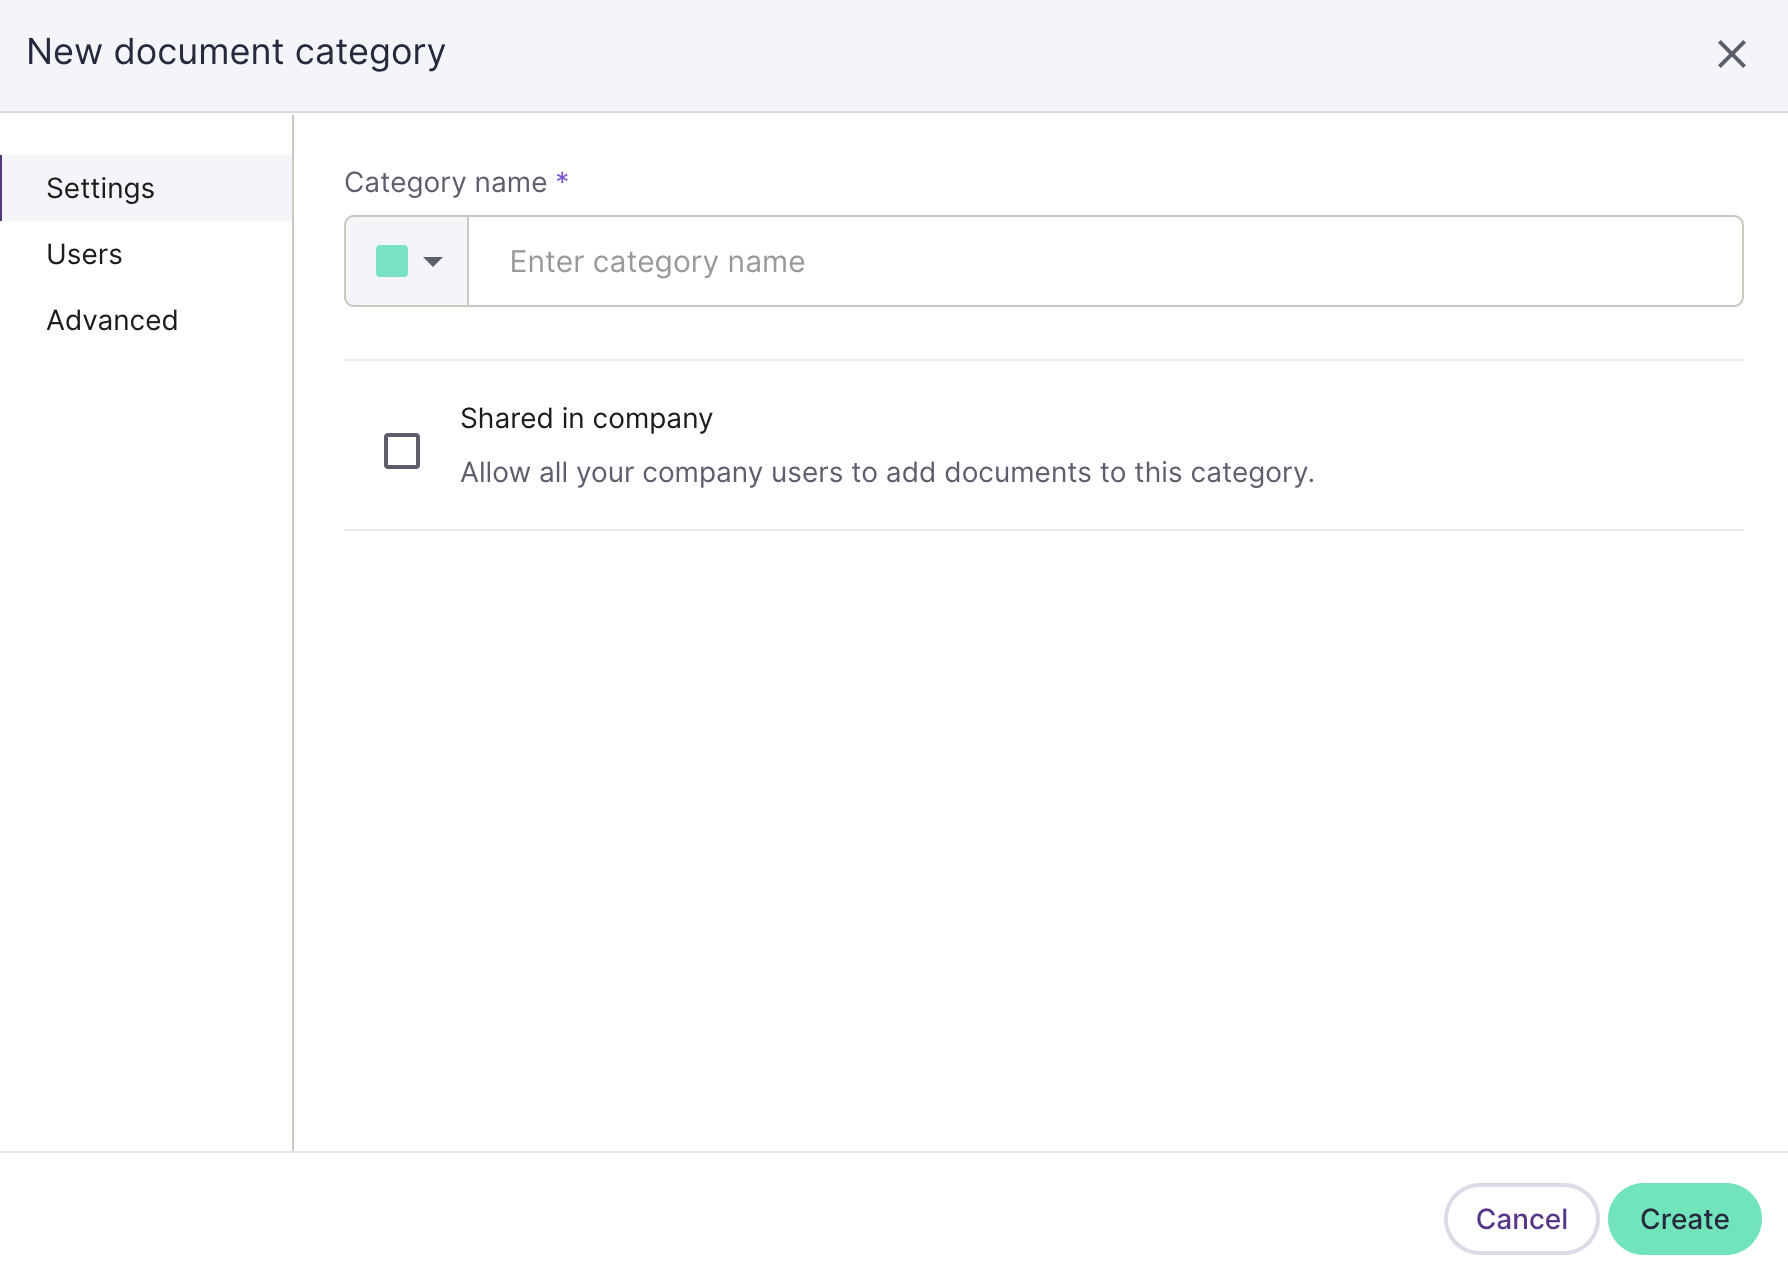
1.4. A new window will open. Here you can choose between three sections: "Settings", "Users", and "Advanced". More information on these sections is provided further down.
"Settings"
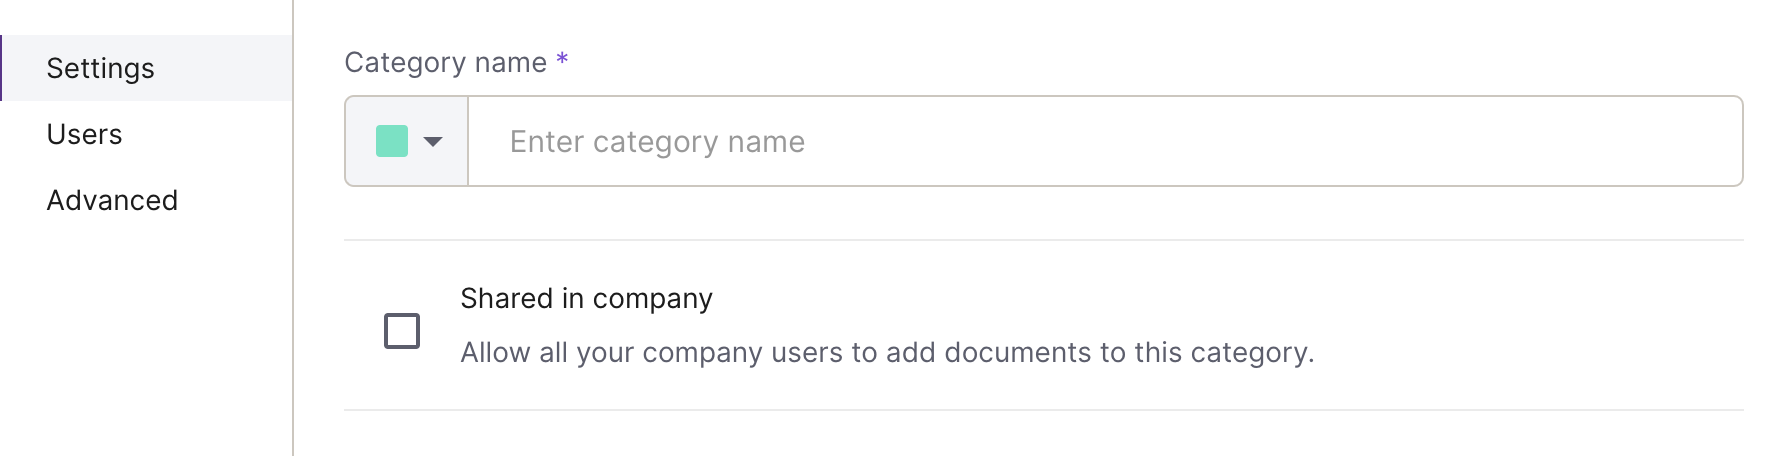
Here you can enter the name of the category, choose its color, and share it among your teammates if necessary.
| Note: A document category can be shared only by an account owner or administrator. |
| Note: A shared document category does not provide others access to all of the documents that have been added to it. |
"Users"
| Note: This section is available for account owners or administrators only. |
This section allows you to assign specific users to a specific category. In practice, this means that once the document category is applied to an uploaded document, the users who were assigned to it will be automatically added to the "participants" list (a.k.a. the list of people with whom the document is going to be shared).
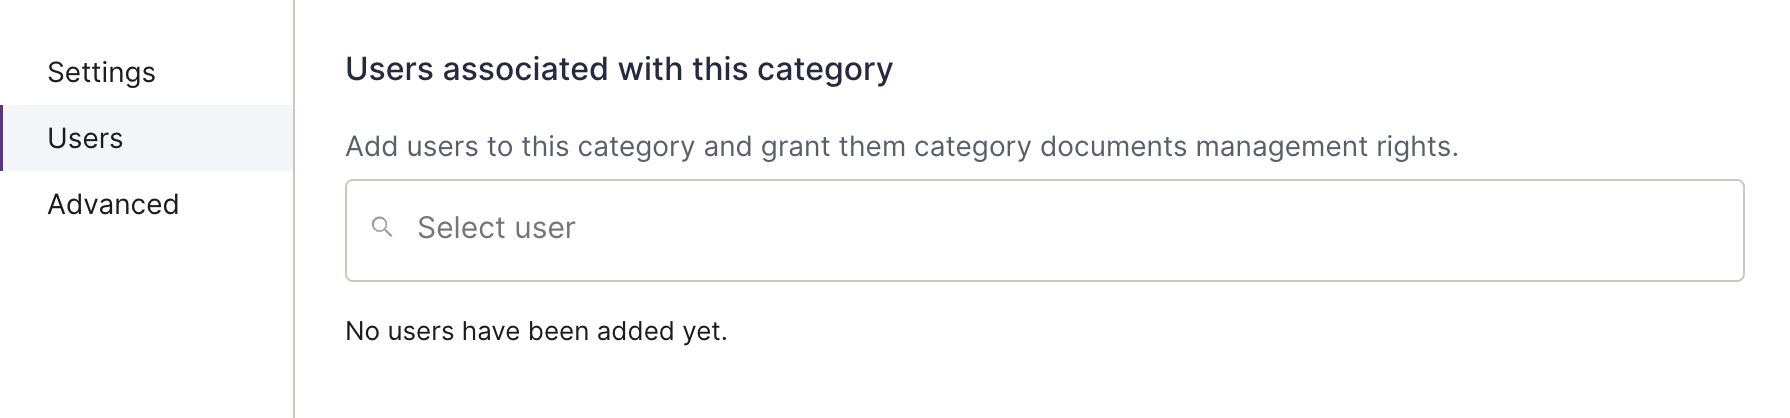
Once a user gets assigned, a pre-defined role can be chosen for them. ↓
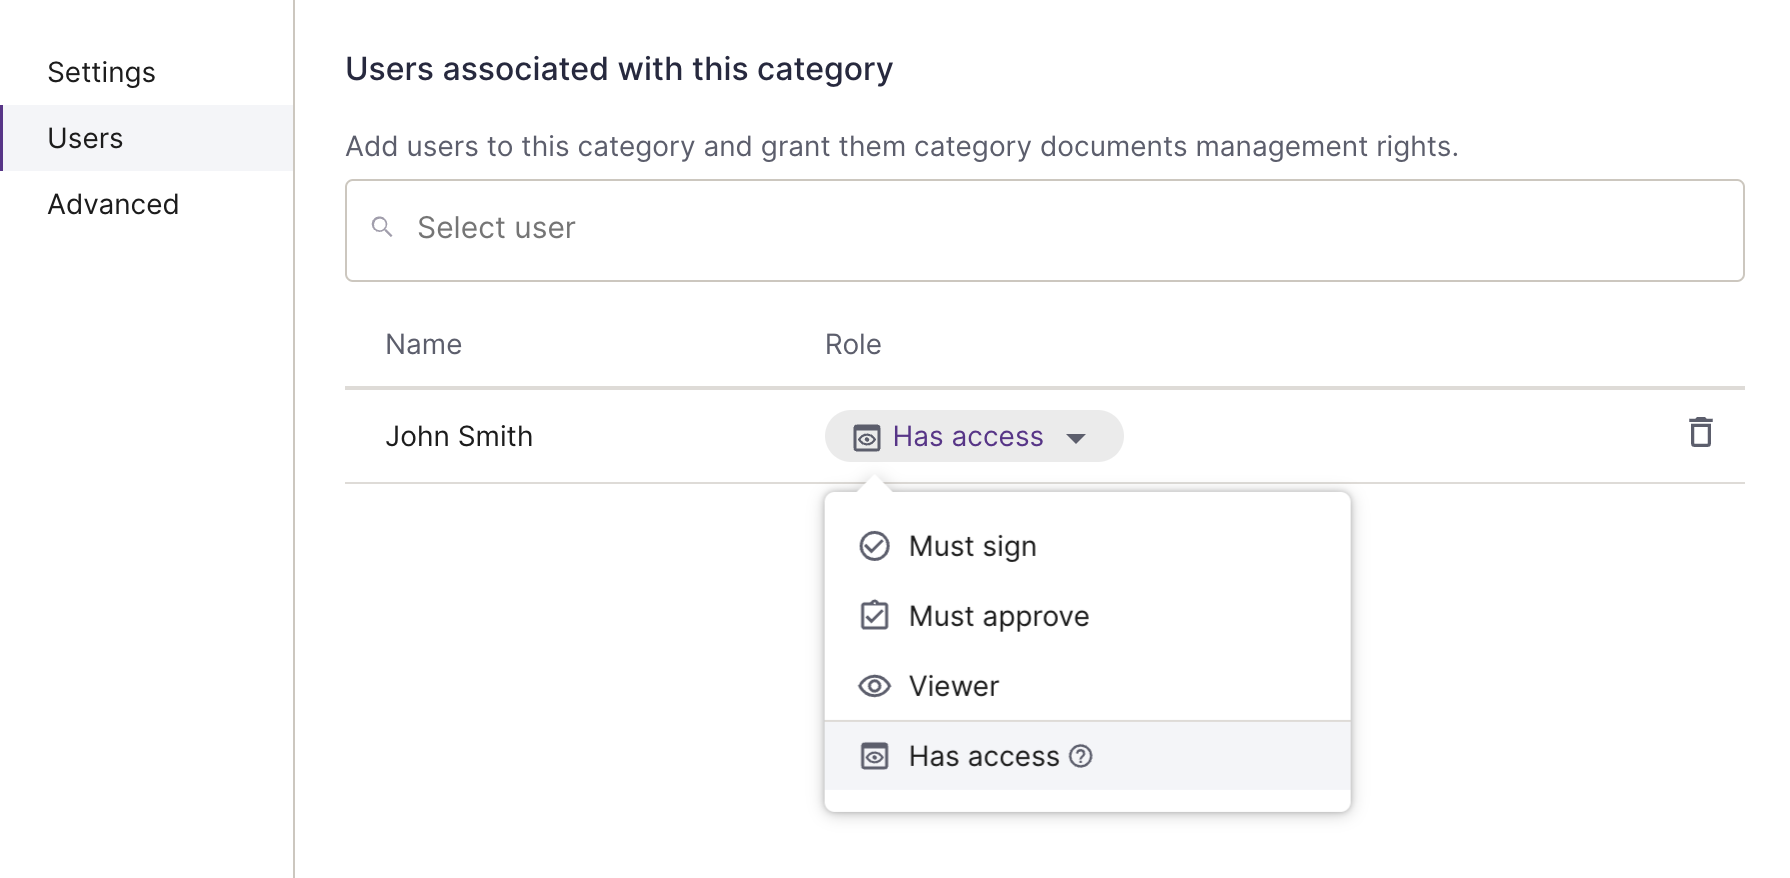
User roles explained:Must sign → The user will receive an email notification and will be prompted to sign a document. Must approve → The user will receive an email notification and will be prompted to approve a document. Viewer → The user will receive an email notification and will be prompted to view a document. Has access → The user will be granted access to view all documents within the category without receiving notifications or being part of the document workflow. Key differences to note:Must sign / Must approve / Viewer → Users assigned to these roles will only have access to documents that were uploaded after they were added to the category. Has access → Grants the user visibility to all documents within the category, regardless of when they were uploaded. This role is ideal for users who need access to documents for reference or oversight but do not need to actively participate in the workflow. |
"Advanced"
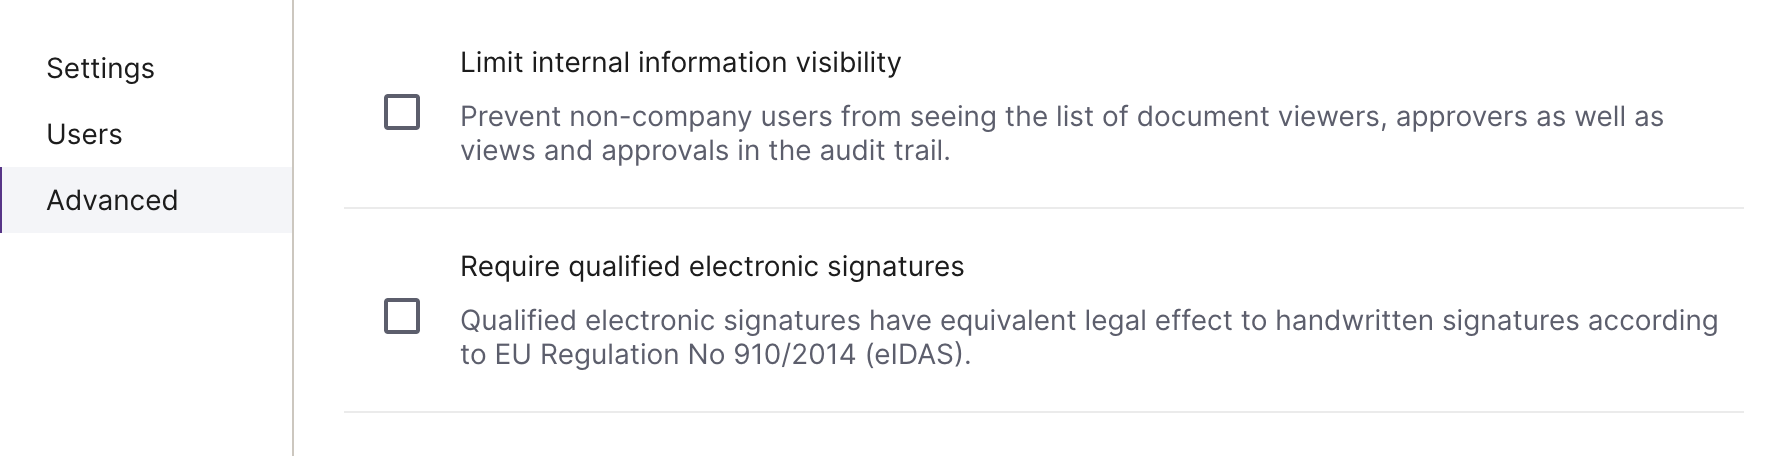
Here you can pick between two options:
Limit internal information visibility → This setting prevents non-company participants from being able to see others who are added as document viewers or approvers, as well as their audit trail history.
Require qualified electronic signatures → This setting prevents added participants from signing a document with non-QES signatures.
"Integrations"
| Note: This section is visible for Portal API users only. |
In this section, you will be able to enter the URL where all of the signed documents of a specific document category will be returned.
1.4. When you're done adjusting the settings, press "Create" at the bottom of the window to create the document category.

How to create document subcategories
| Note: A subcategory can be created only if at least one category has been created beforehand. |
2.0. Open the "New document category" window (see steps 1.0. - 1.3.).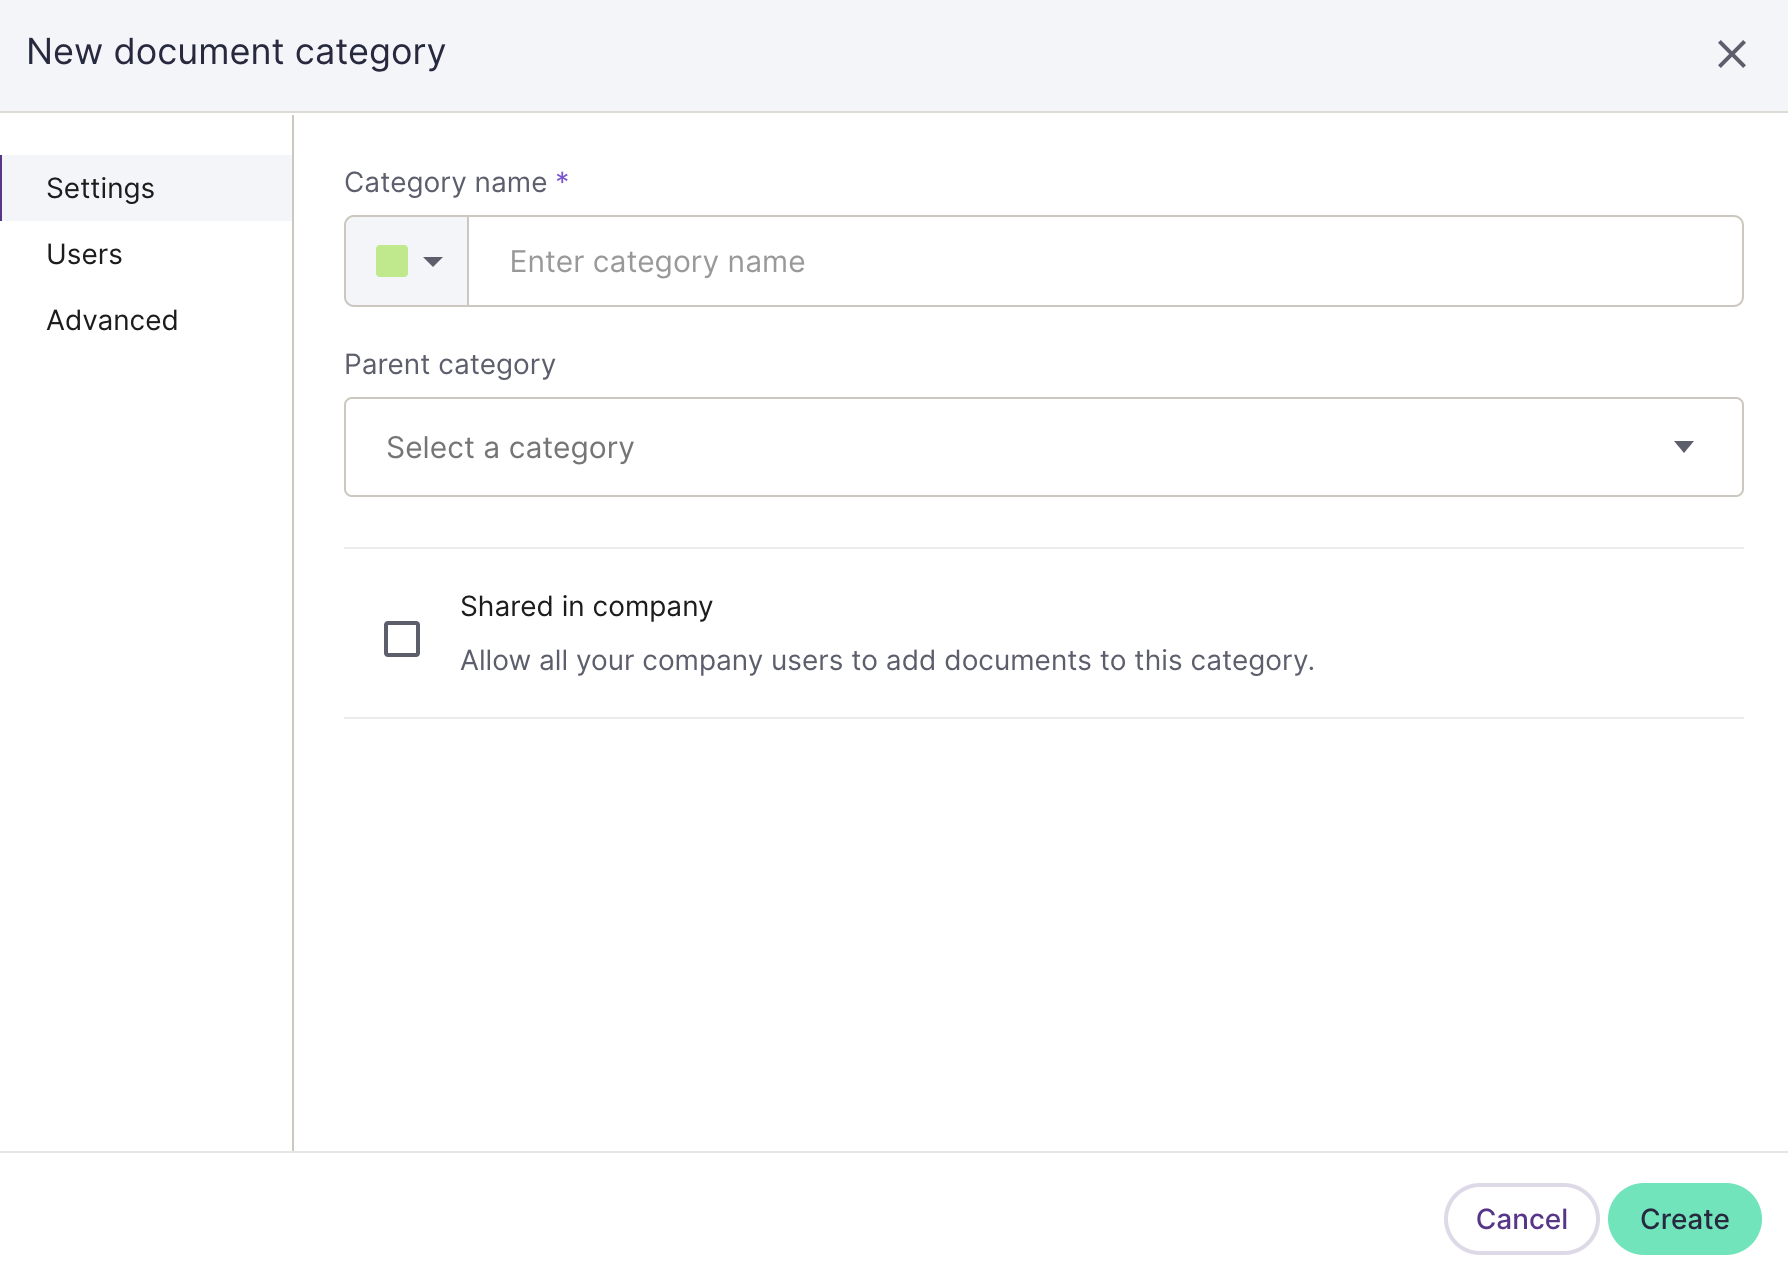
2.1. Enter the desired title for the subcategory in the "Category name" field.

2.2. Select a "Parent category" from the drop-down list to which the subcategory needs to be added.

| Note: The "Parent category" setting will not be visible if no other category has been created beforehand. |
2.3. When you're done, press Create at the bottom of the window.
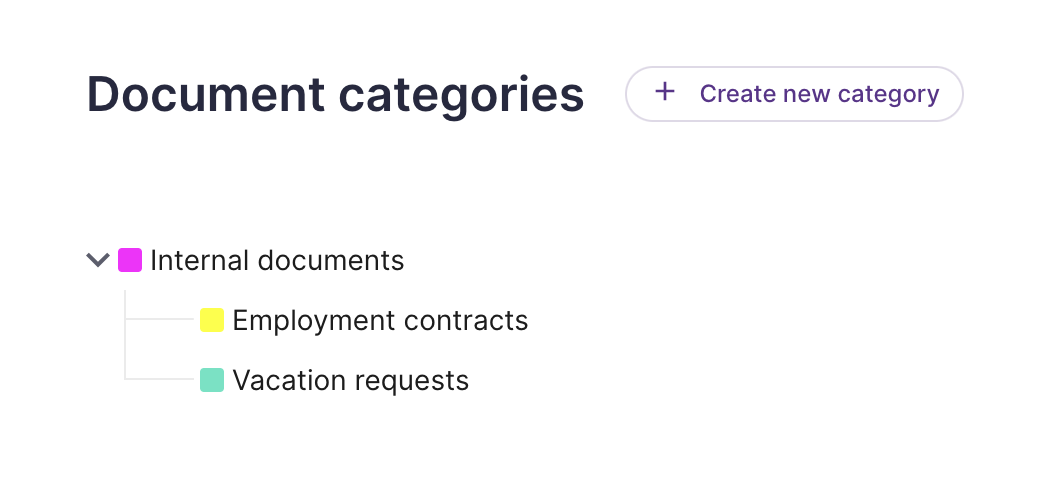
And there you have it; you've now grown a category tree.
How to edit or delete document categories
3.0. Go to the "Document categories" section of your account settings (see steps 1.0.-1.2.).
3.1. Choose the necessary category and simply press on it.
3.2. A new section will appear. Press Actions to open a list of options. Here you can choose whether to edit or delete the category.
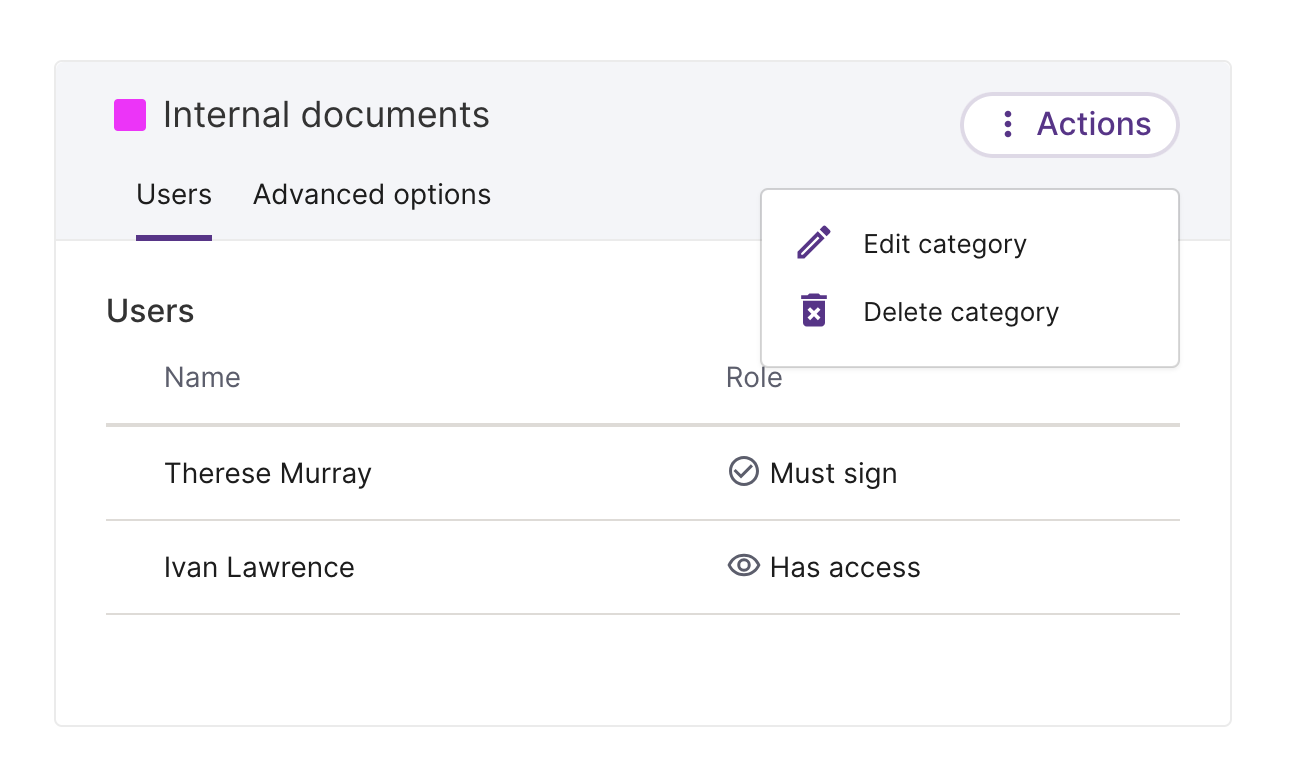
| Note: By deleting a parent category, all of its subcategories are also deleted. This action does not delete the documents associated with the categories. |
How to assign categories to new documents
4.0. Fill out all of the necessary information in the first three steps of the document uploading process.
4.1. When you get to the fourth step, you will be given the choice to set several document settings, as seen in the image example below.

At the top of these settings, the first option is a button that allows users to assign document categories. Press this button to open an additional window.

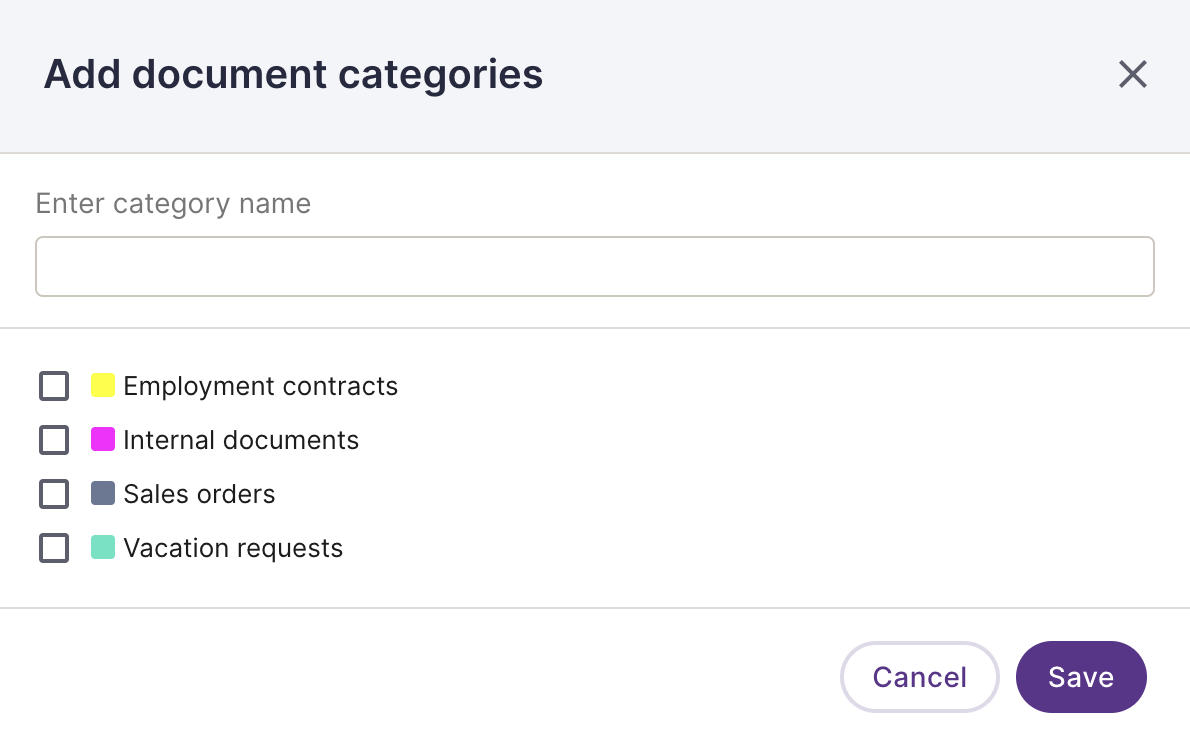
4.2. Here you can select the necessary category/ies by adding a checkmark and then pressing Save.
| Note: If a subcategory has been selected, the parent category will also get automatically added. |
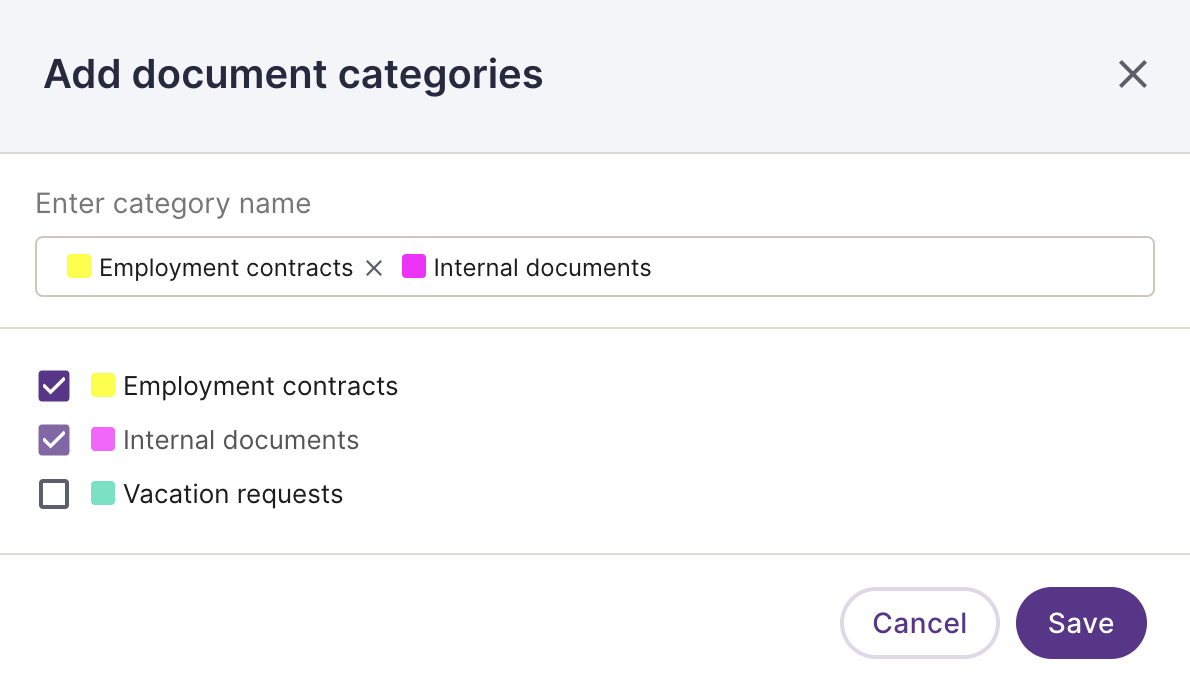
Alternatively, you can use the "Enter category name" field as a search bar. If it doesn't produce any search results, you can use this opportunity to create the category by pressing Create [category name].
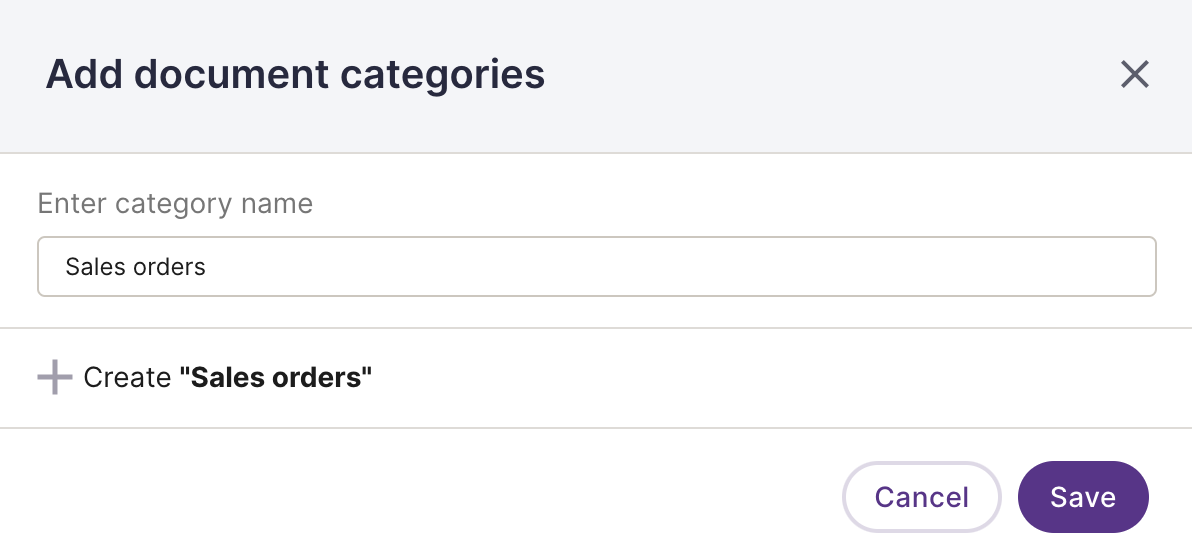
Then, you'll be able to set certain settings.
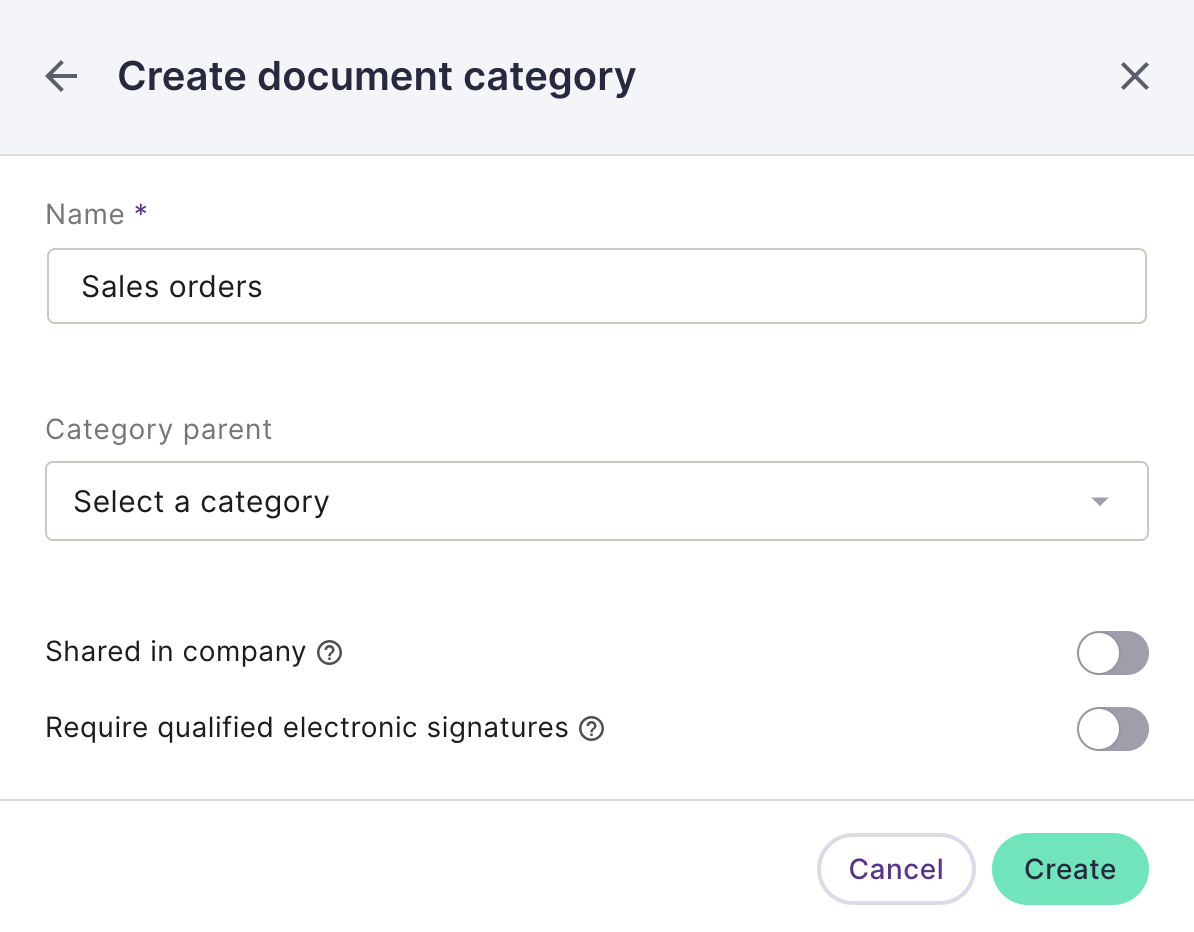
When you're done, press Create at the bottom of the window.
How to assign categories to existing documents
5.0. Open the necessary document.

5.1. In the section "1. Information", press Assign category.
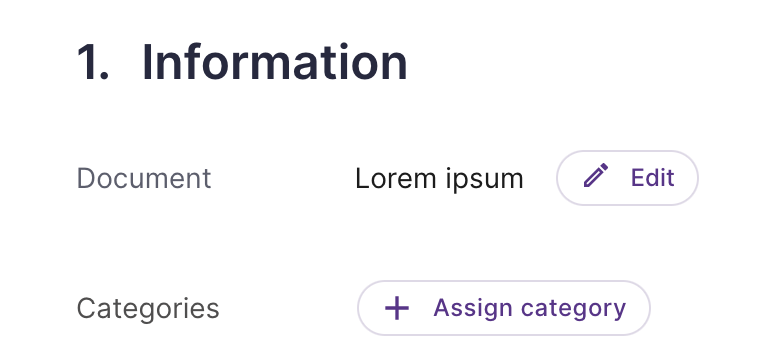
5.2. A new window will open. Select the necessary category/ies by adding a checkmark and then press Save.