In the Dokobit by Signicat portal, users can personalize their company accounts with custom branding. By adjusting branding elements such as logos and colors, organizations can create a more consistent and professional experience that reflects their visual identity throughout the signing process.
| Note: This functionality is available to our Business and Enterprise plan users only. |
Examples of company branding
Once custom branding is set up in your Dokobit account, your company's logo and brand colors are displayed throughout the platform. Below are some of the most common places where these branding elements appear.
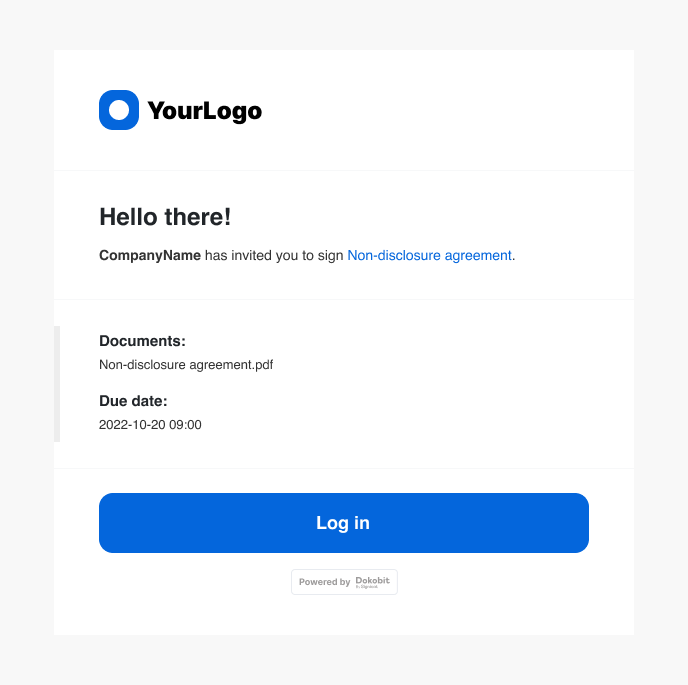
Email invitations
When you share a document with other participants, the invitation email they receive includes your company's logo and brand colors.
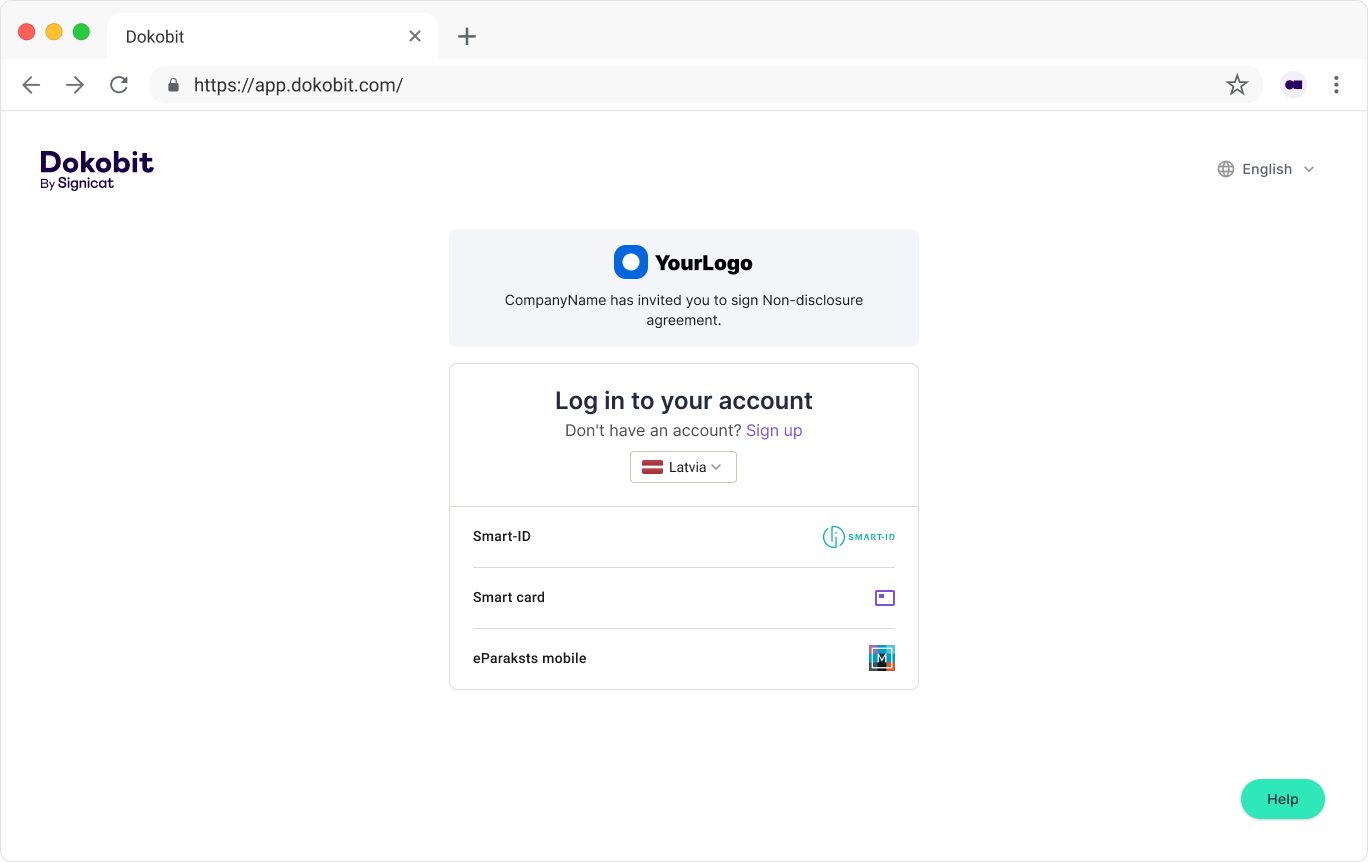
Login window
When registered users open a document access link, they are directed to the login page, where your company logo is displayed.
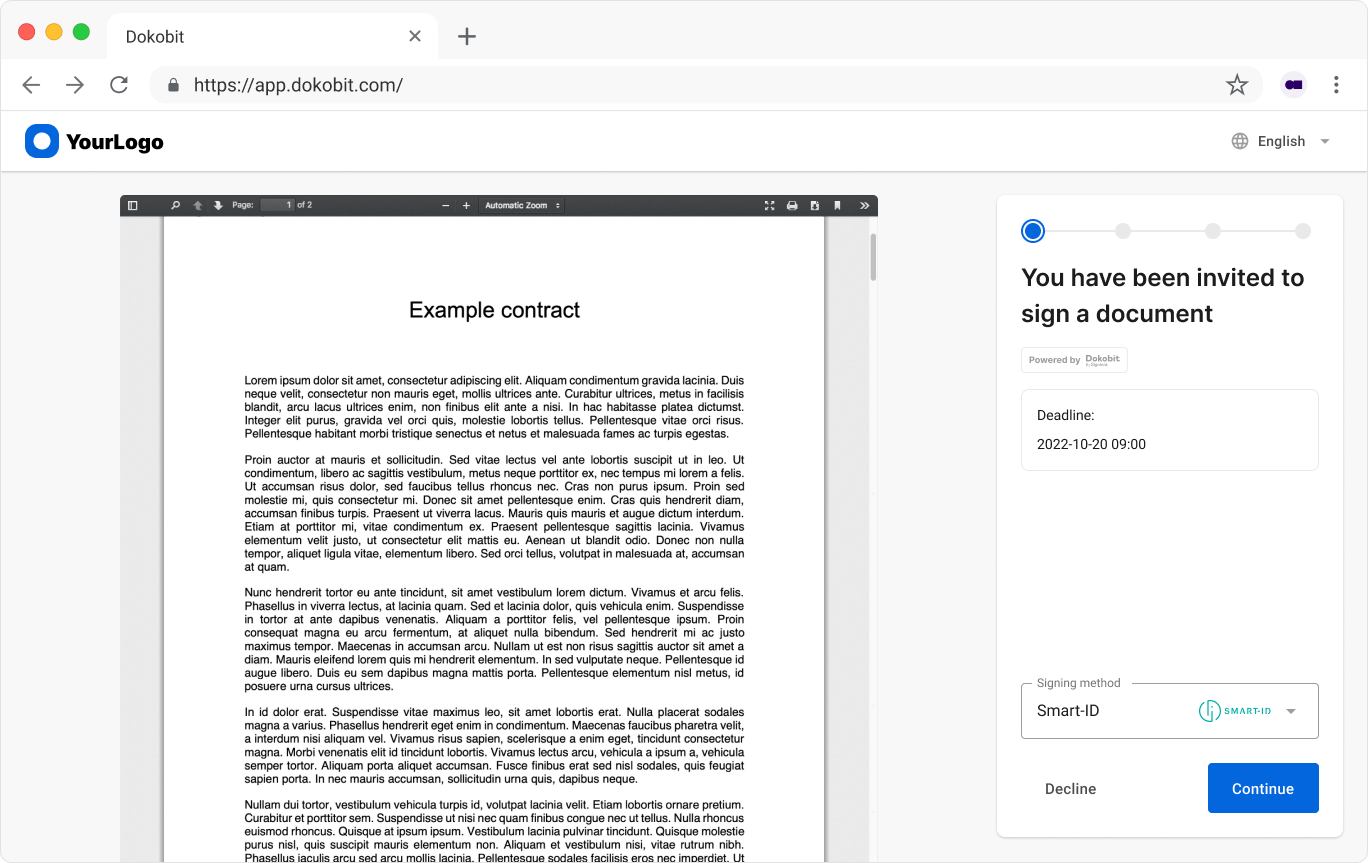
Accountless window
Participants who access documents without a Dokobit account see your branding elements within the accountless signing interface.
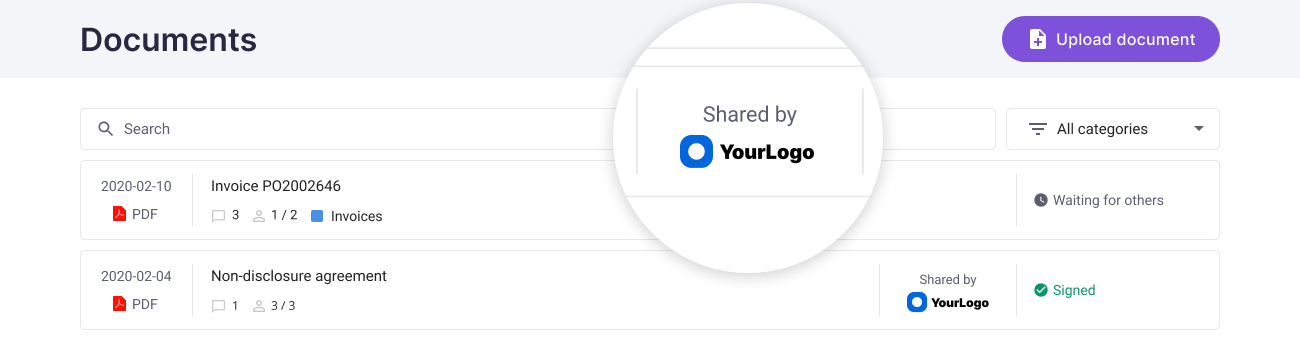
Documents list
Registered users see your company logo displayed alongside documents associated with your organization in their documents list.
Opened documents
When registered users open a document in the portal, your company logo is displayed at the top of the page.
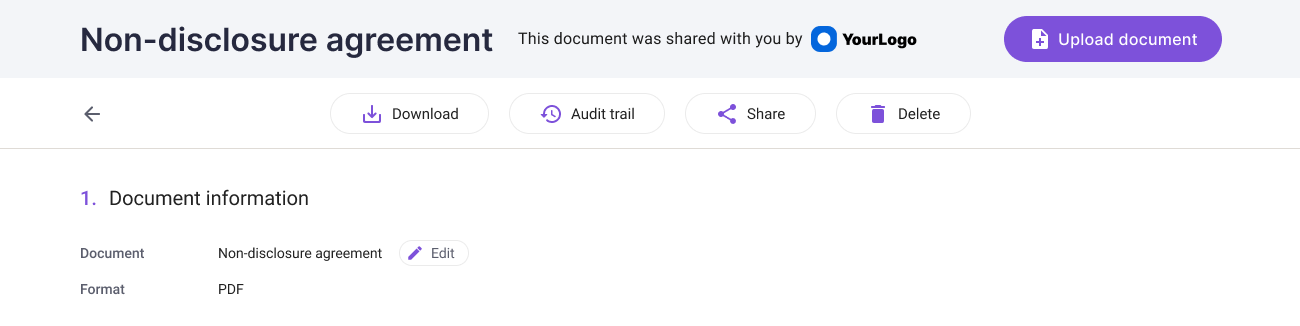
How to set up company branding
| Note: If custom company branding for your account was manually set up by our team, this functionality will not be visible to you. We offer the option to enable it; however, in some cases, it might not be possible. Please contact our support team if you'd like to make any adjustments to your current branding setup or explore the possibility of enabling this functionality in your account. |
| Note: The following settings can be adjusted only by Business and Enterprise account owners and admins. |
1. Log in to your Dokobit by Signicat account.
2. Open Settings by pressing the gear icon next to your name and email address.
3. From the menu on the left, select Custom branding.
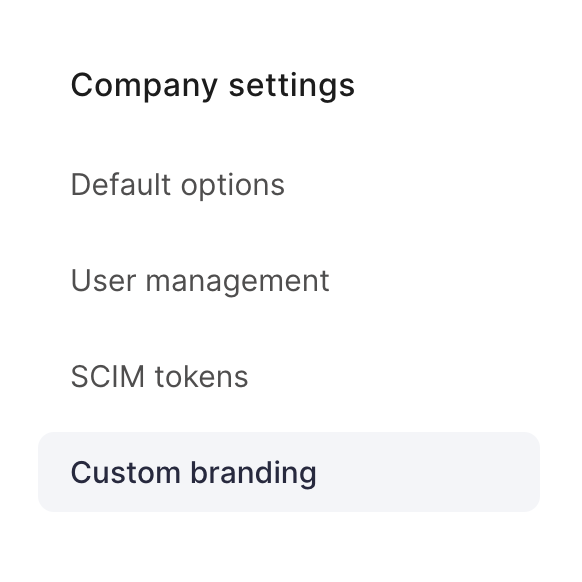
Here you can see an overview of the following settings:
Company nameIn this section, you can enable the setting to include the sender's name in email invitations. If you need to change the company name added to email invitations, this must be done in each company user's profile settings. A detailed how-to guide is available here: How to edit your account information. |
LogoIn this section, you can upload your company logo. The company logo is applied to all documents, and these changes are visible to all company users. Note:
|
Brand colorsIn this section, you can select the main brand and text colors, as well as the link and secondary text colors. |
Additional customizationsIn this section, you can adjust the corner radius of the email invitation button and add an underline to the document link. |
As you modify these settings, the changes are displayed in a live preview, as seen below.
4. Once you've completed adjusting the settings, press Save changes.