| This is a follow-up article to "SignicatID: Getting started". If you're unfamiliar with this signing method, we recommend reading the main article first before continuing with the steps below. |
This guide is for first-time SignicatID users who haven't yet created their signing certificate. Below, you'll find instructions for completing the video onboarding process.
Before you get started, make sure you meet the requirements for successfully creating a SignicatID signing certificate:
Requirements |
|---|
|
How to create a signing certificate
1. There are two ways to begin the process of creating a SignicatID signing certificate, depending on whether or not you are a registered user in the Dokobit portal. Pick the one that applies to you:
Registered user |
Accountless signer |
|---|---|
|
|
2. Select the issuing country of your ID, and choose the SignicatID signing method. Then press Continue.
| Important: If your ID is issued by a country that is not listed in the drop-down menu, SignicatID will be unavailable to you. |

3. Choose the country of your mobile network, enter your phone number, and press Continue.

4. Get familiar with the upcoming steps, and then press Start.

5. Accept the terms of service by marking the required checkboxes, and press Continue.

6. Choose the issuing country of your ID and the type of document you plan to use, and then press Start.

7. Get familiar with the requirements to ensure that you can successfully sign the document, and press Continue.

8. The camera on your device will turn on and ask you to position the front of your document to fit the frame. Follow the prompts to make sure you do it correctly. Once your document has been accepted, follow the prompts to capture your face as well to ensure a successful identity verification process.

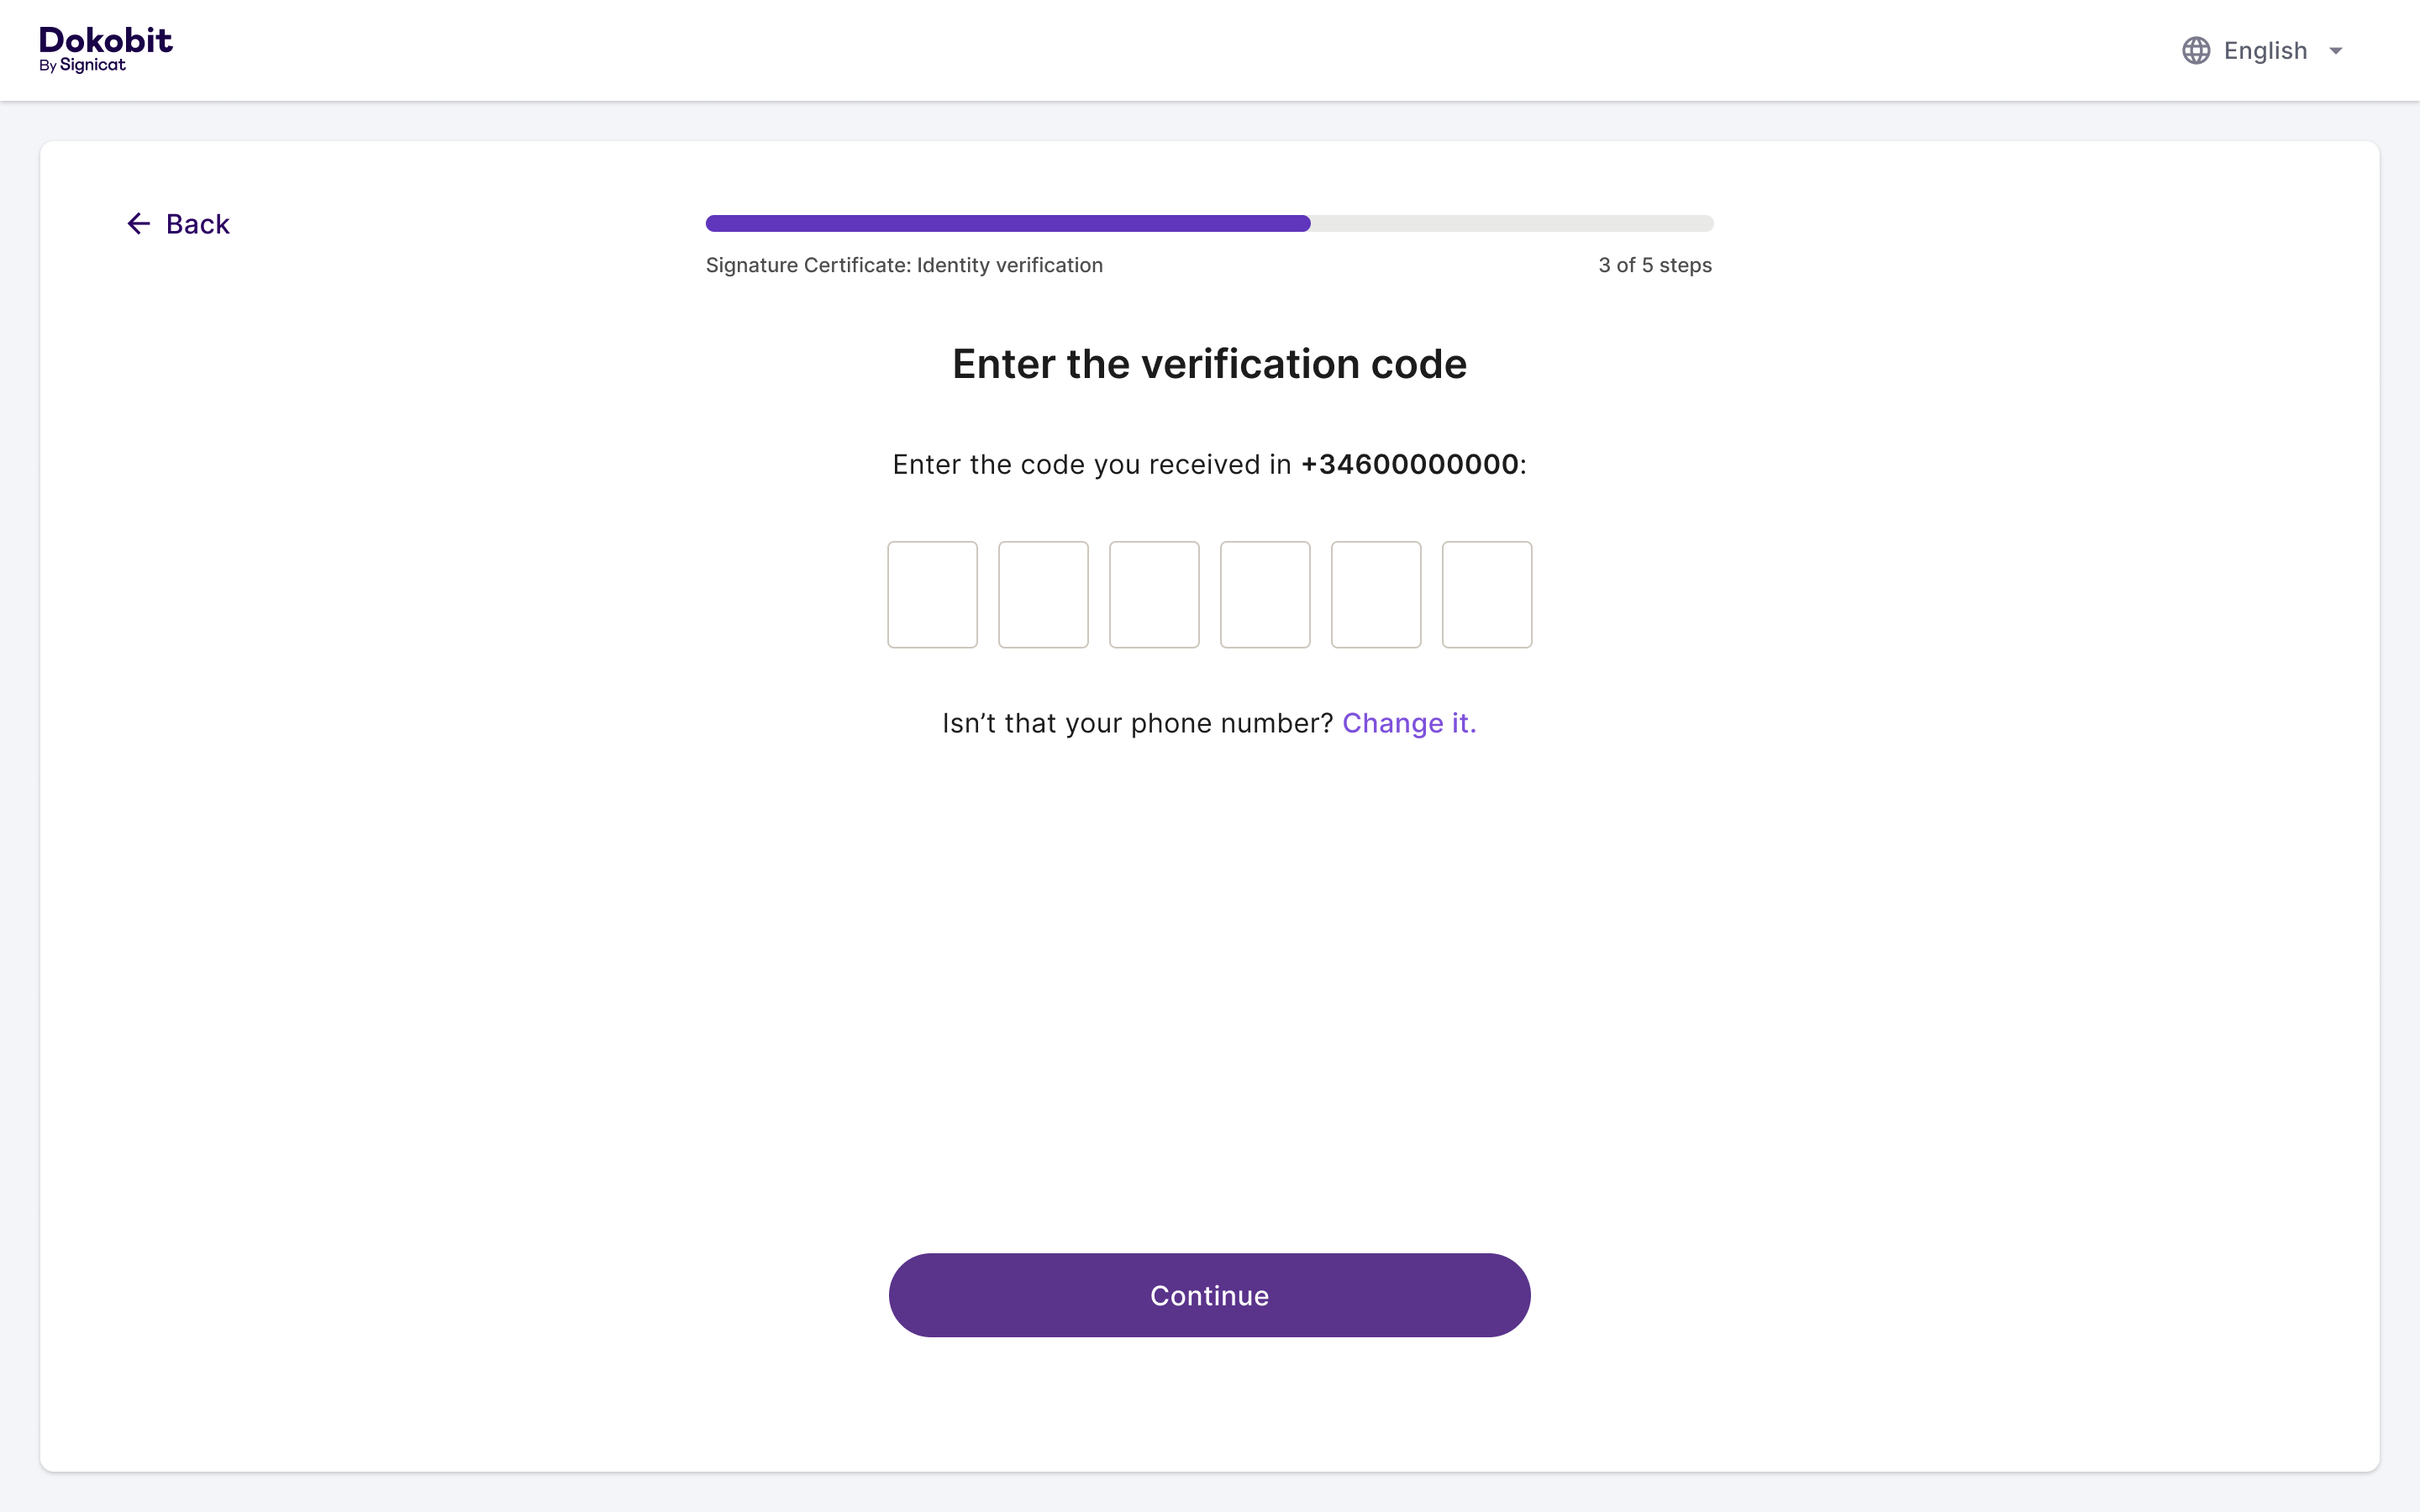
9. Once the recording is completed, you will receive a text message with a verification code. Enter the code in the provided boxes and press Continue.
10. Please wait for your identity to be verified.
| Note: The verification process is supposed to take up to 5 minutes. However, don't worry if you exceed this waiting time – sometimes, it can take longer. |

11. Read the certificate issuance contract and press Agree.
| Note: The contract must be scrolled to the bottom for the Agree button to become active. |

12. Create a password by ensuring it meets all of the requirements and then press Continue.
| Important: The password is used during all SignicatID signings. If it is lost or forgotten, you must revoke your certificate and create a new one. SignicatID: How to revoke a signing certificate |

13. Once your certificate has been created, you can now sign documents. Press Start signing to begin.

14. Enter the password you created and press Confirm and sign.

15. Enter the verification code in the provided boxes and press Continue and sign.

Once the document is successfully signed, a message similar to the one in the image example below is displayed.
