In the Dokobit by Signicat portal, document owners can modify which e-identification tools are available for signing. By enabling or disabling specific methods, you can ensure that invited participants use only the tools that meet your required e-signature level.
How to modify allowed e-signature levels in a new document
| In this section, you'll learn how to enable or disable specific e-signature levels and their corresponding e-identification tools when preparing a new document for signing. |
1.1. In the top-right corner of the screen (below your name), press Upload document.

1.2. Fill out the necessary information in the first three steps of the document upload process.
1.3. When you reach the fourth step, you can edit several document settings, as seen in the image below.

Near the bottom of this section, you'll see the Allowed e-signature levels setting. Press the Edit button.

1.4. A new window will open, displaying three sections for available e-signature levels. Here's how to update the settings:
- Toggle each e-signature level on or off to enable or disable the entire category.
- Press the arrow icon to expand a category and view the available e-identification tools.
- Enable or disable specific tools by marking them purple (enabled) and grey (disabled).
When you're finished editing, press Save to apply your changes. You can then continue with the signing process or share the document with others.
| Note: If you are not permitted to enable this setting, please contact the company account owner to see if this permission could be granted in the default settings. This restriction applies to Business and Enterprise plan users only. |
How to modify allowed e-signature levels after a document has been shared
| In this section, you'll learn how to enable or disable specific e-signature levels and their corresponding e-identification tools after the document has already been shared with others. |
2.0. Log in to the Dokobit portal.
2.1. From your list of documents, open the one you've already shared for signing and need to adjust the settings of.
2.2. At the top of the page, in the Information section, press Show more to expand the list of available settings.
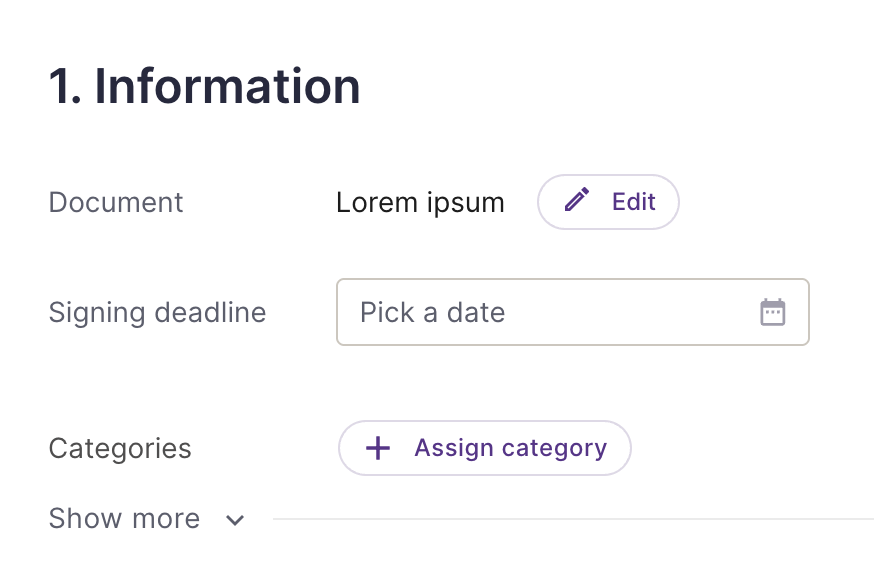
2.3. In the expanded list of settings, press the Edit button next to Signature level.

2.4. A new window will open, displaying three sections for available e-signature levels. Here's how to update the settings:
- Toggle each e-signature level on or off to enable or disable the entire category.
- Press the arrow icon to expand a category and view the available e-identification tools.
- Enable or disable specific tools by marking them purple (enabled) and grey (disabled).
When you're finished editing, press Save to apply your changes.
| Note: If you are not permitted to enable this setting, please contact the company account owner to see if this permission could be granted in the default settings. This restriction applies to Business and Enterprise plan users only. |